Caitlin, my eldest daughter, had a favourite t-shirt. She had outgrown it, then wore it for a cat-painting workshop at the local art gallery. This marked the demise of the t-shirt - a great big splodge of red paint across the front, which no amount of washing could totally remove. She was very sad to see it go so I decided to repurpose it. And so that you can have a go too, I decided to make a tutorial! It’s a bit flying-by-the-seat-of-my-pants, but I’m pretty happy with the end result -
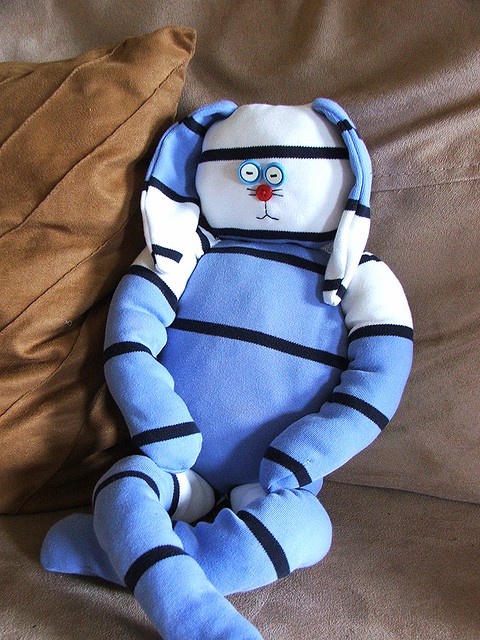
Introducing Riley, the Repurposed Rabbit!
So - if you would like to make one yourself - here is what to do!
Firstly - take an old, long-sleeved t-shirt. This one is age 9-10, just to give you an idea of the size.
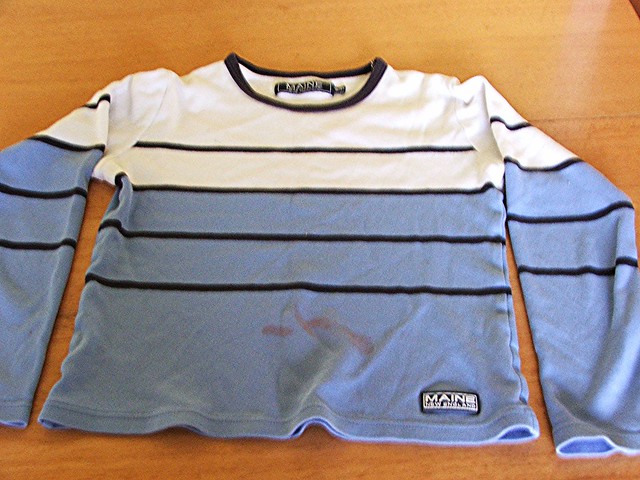
(you can still see the red splodge on the front!)
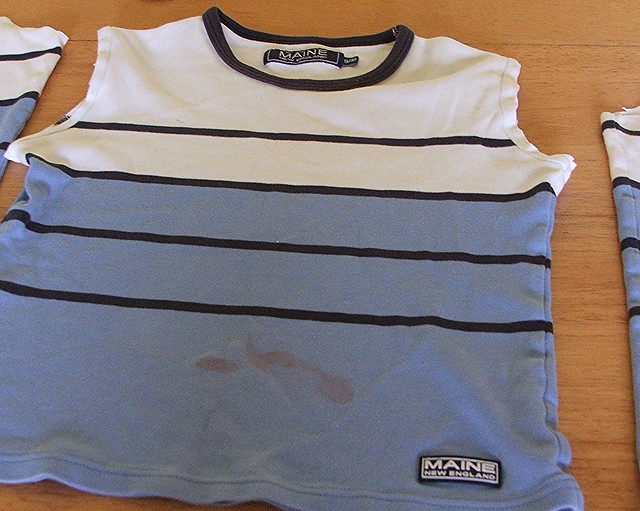
Now cut off the arms.
At this point, if you want the right side of the t-shirt to be the right side of your rabbit, then you need to turn it inside out. I used the wrong side as the right side for my rabbit, as the stain didn’t go all the way through, so my finished rabbit is stain-free!
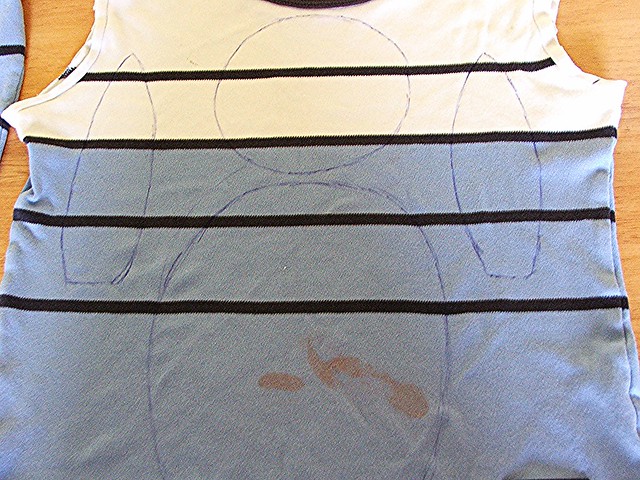
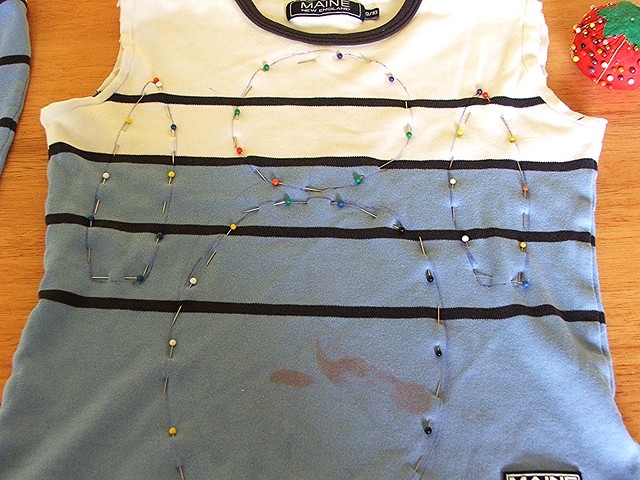
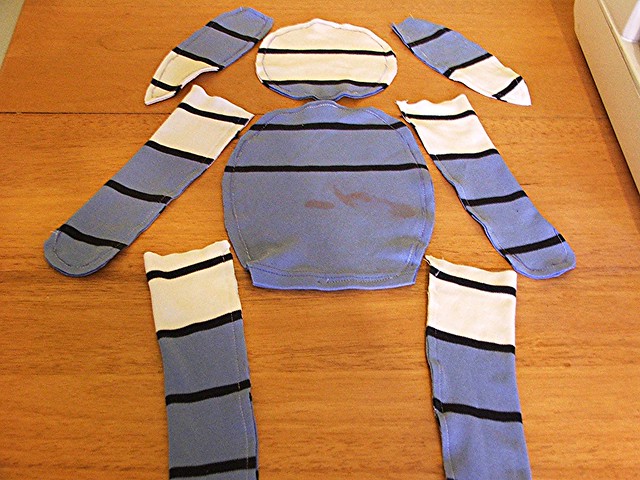
On the body of the t-shirt, draw a head, body and ears. I made the head 12cm in diameter, the body is approximately 16cm x 22cm, and the ears are 16cm x 5.5cm at the widest point. (However I wish I’d made the body a bit thinner, Riley looks as if he’s had a few too many carrots). Leave a good gap between each piece (unlike me) as a seam allowance. If you are not confident on your drawing skills, you could draw them on paper first. I'm a bit gung-ho, as you can probably tell, since the body on mine is not terribly symmetrical. All adds to the charm, I say!
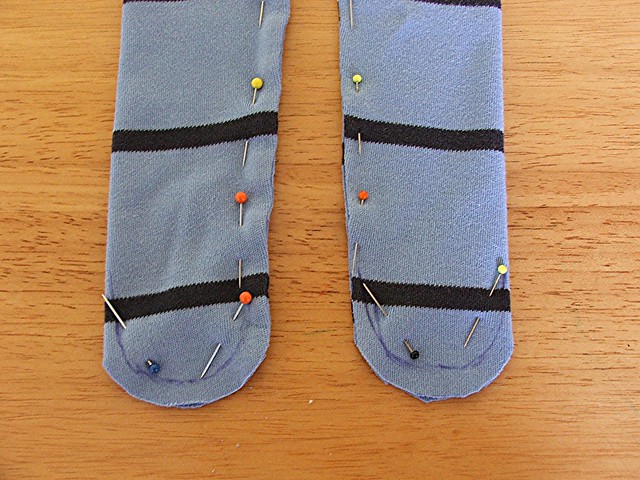
Taking care to go through both layers, I pinned around each of the shapes. Once I had done this I flipped the material over to check I had put each pin right through, and that the material wasn't bunched up underneath in any place.
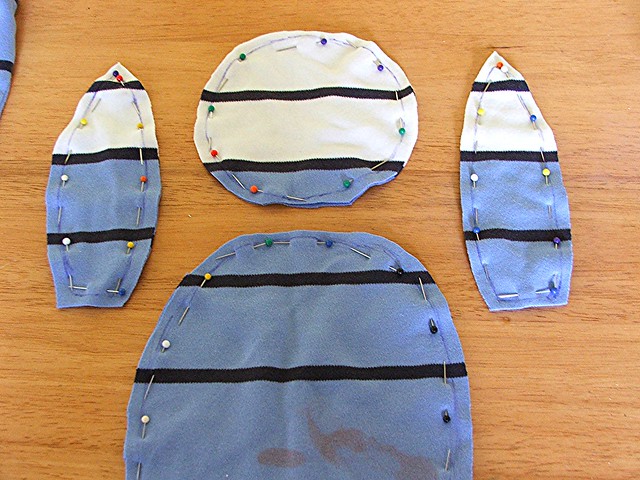
Cut them out leaving a seam allowance all round, but retain the leftover bits. (Can you tell I can’t bear to throw anything out??)
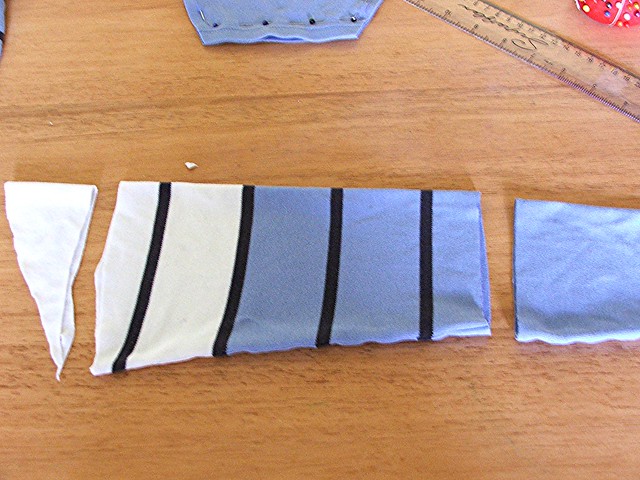
Now take one of the sleeves. This is to make the arms. Cut it off at the top to make it straight, and cut off the bottom so that the main piece is 23cm long. Don’t throw away the leftover bits!
(Yes, I know, rabbits don’t have arms. But for the sake of clarity, they do for this tute. For that matter, they don’t generally have blue and white stripes …)
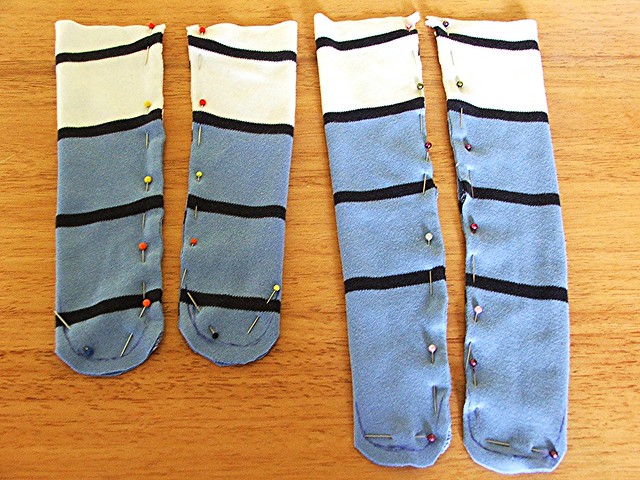
Fold the sleeve so that the seam is in the centre. Pin either side of the seam.

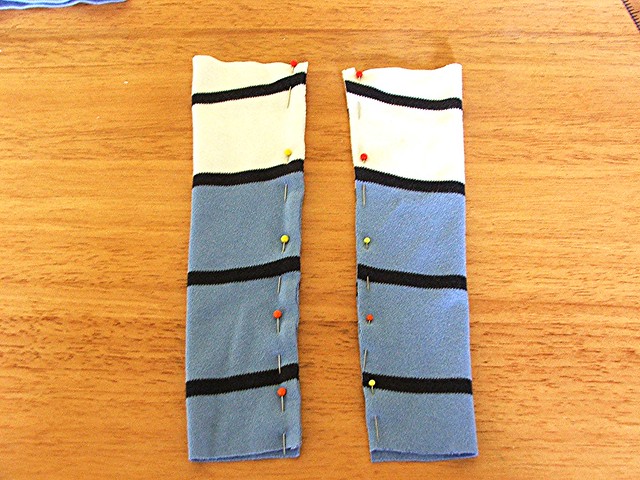
Round off and pin the ends.
Now do the same for the legs, only cut the sleeve so it is 30cm long.
Using a fine needle and a fairly loose tension, machine sew round all your pieces, leaving gaps at the tops of the limbs, and bottoms of the head, ears and body, for turning out and stuffing.
So next … turn all your pieces the right side out and stuff ‘em! Don’t stuff the ears though.
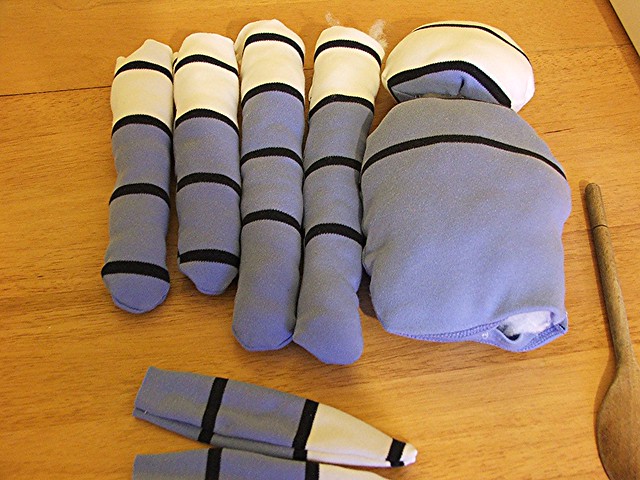
I’ve also stuffed my rabbit quite loosely as I wanted it to be quite floppy.
Oh yes - stuffing. In the interests of repurposing, I did not buy my toy stuffing.
This may give you a clue as to where I got it though:
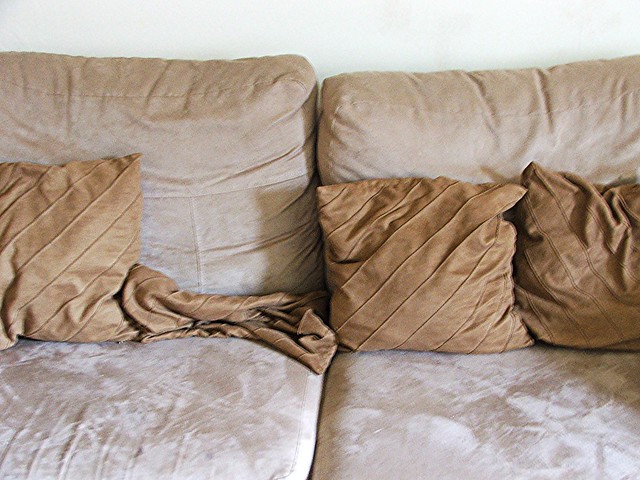
Apologies for this next picture. You have not had too much wine. (Neither had I, but I seem to be suffering from camera shake on this shot).
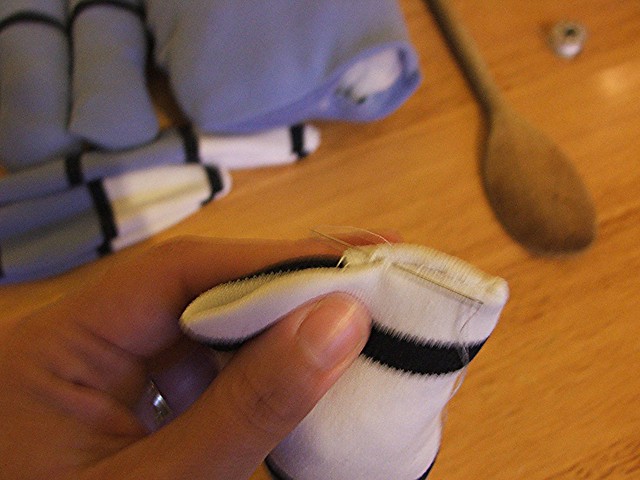
Fold in the open end on one of the arms, with the seam in the centre. Slip stitch it closed. (Do you know I took about ten of these photos and every single one came out blurred. grr.) Repeat with the other arm and with each of the legs.
Take the arms, fold in half again, with the seam inside, and slip stitch along the opening.
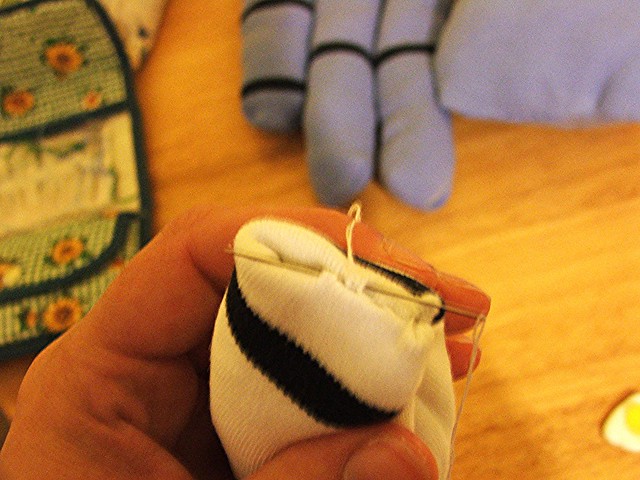
Now take the ears, fold in the opening and pin. Secure thread firmly at one end and slip stitch to the other end. Pull up the thread so that it gathers, stitch firmly to keep the gathers in place. Repeat with the other ear.
(Don’t worry about the turquoise playdoh in the corner of the picture. This was Calum’s contribution and has nothing to do with the rabbit

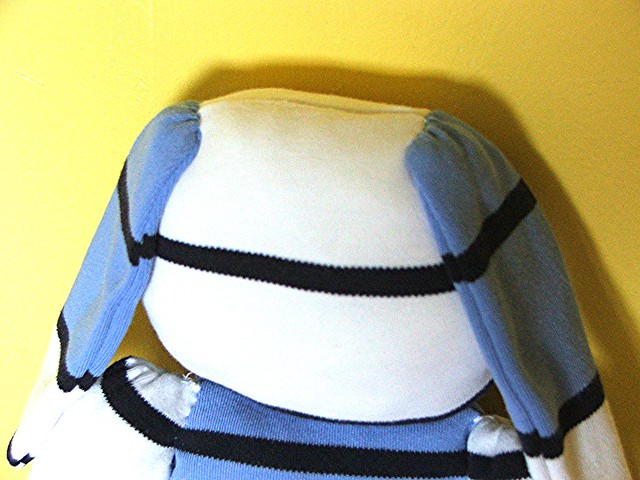
Attach the ears to the head. (I would like to say that I planned it so that the stripes lined up, but that would be a lie).
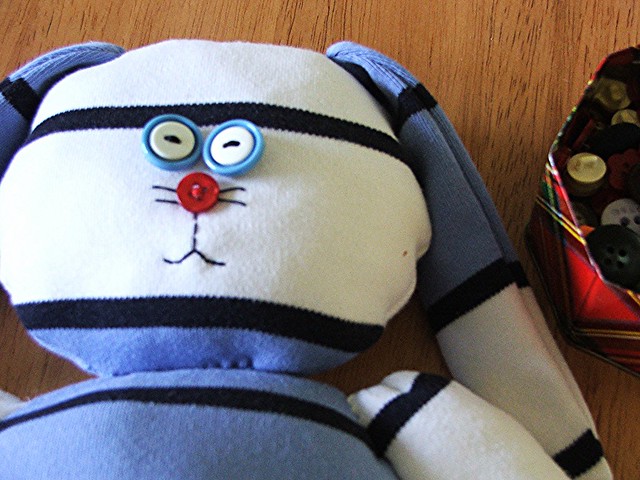
Now go and have a rummage round in your button box and find some buttons
for the eyes and nose. Caitlin chose to have two buttons for each eye -
I quite like the effect!
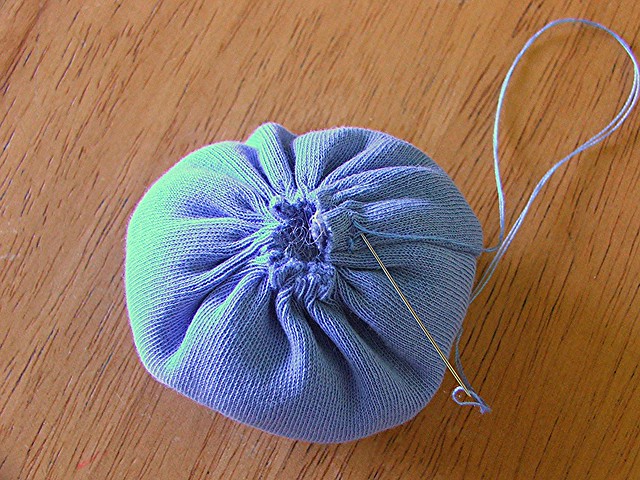
Now for the tail. Take the leftover bit of sleeve from when you made the arms, and cut off the seam at the bottom and straighten up the top. My bit of sleeve is 7.5cm long.

Turn inside out and sew a running stitch round one end of the piece.

Oversew the ends, then attach to your rabbit.
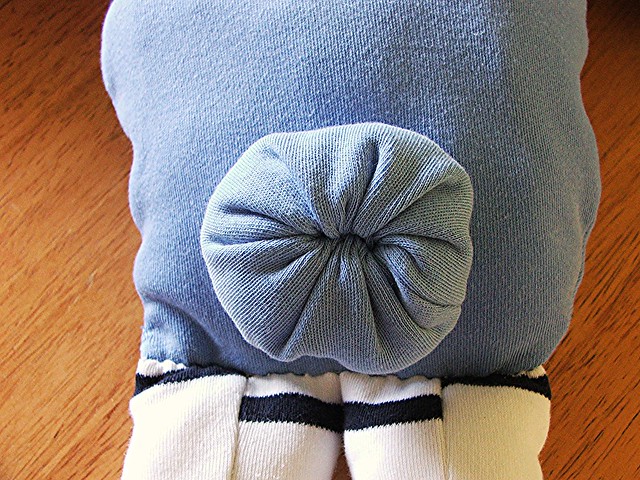
(yes, I know the stripes don’t match up at the back. I’m not that dedicated!)
Et Voila!!
Here is Riley posing a little self-consciously:
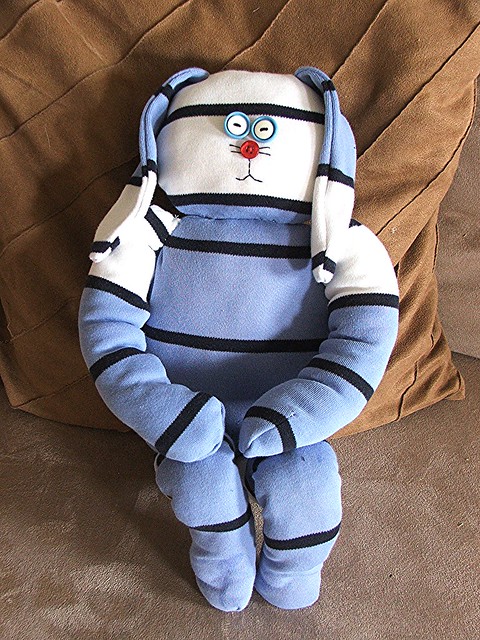
And here he is chilling out watching TV when he thought I wasn’t looking:

Hope you like my Riley! If you follow my tute and make one yourself then
please let me know and I’ll feature it on my blog. Happy repurposing!
Hi Jill,
ReplyDeleteI hope you got my email, you have won the Prize Draw! Please get in touch. I will link here from Planet Penny.
Congratulations
Penny
I do like Riley. He looks a really cool dude :) A lovely tutorial which shows beautifully how you can recycle used clothes. Just heard you won a prize from Planet Penny. Congratulations! Lucky Girl :)
ReplyDeleteLooks good, I may use it on some of my own stuff from my student days that is a little small/young for my many years :-)
ReplyDelete